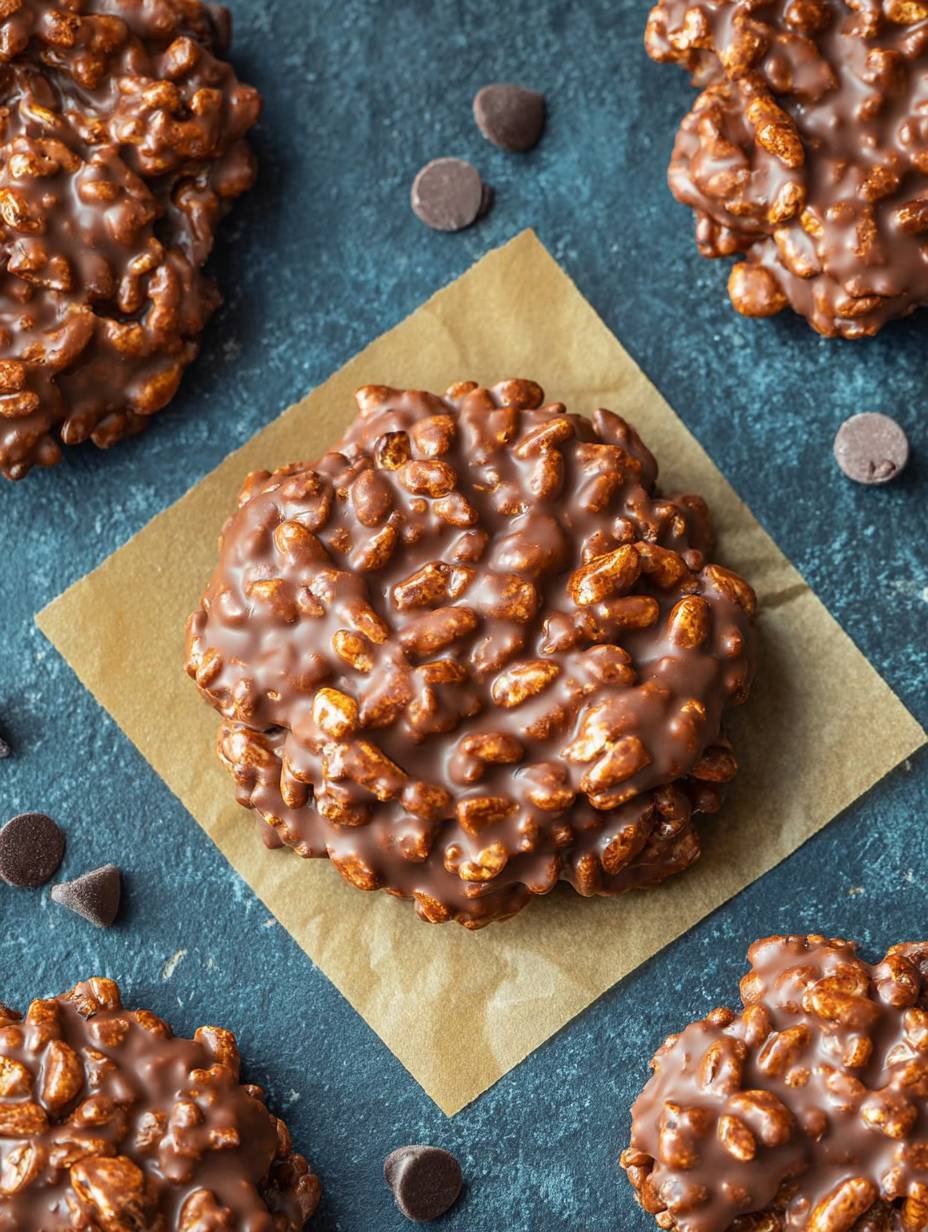
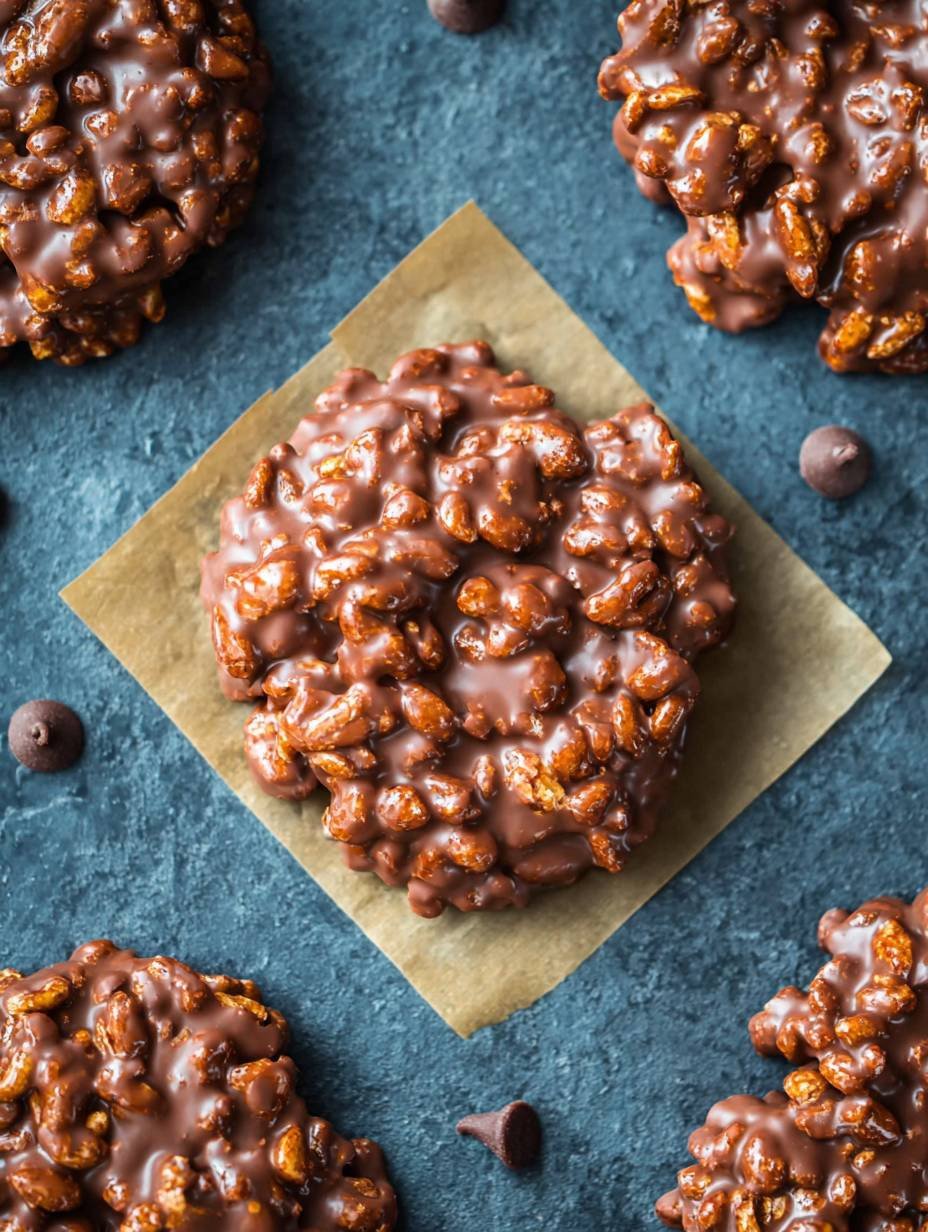
These delightful homemade treats bring together a symphony of crunchy, buttery, and chocolatey goodness that dances across your palate. Imagine biting into a crispy cookie, with the satisfying crunch of rice cereal giving way to a rich, melt-in-your-mouth chocolate finish. It’s pure bliss in every bite!
I remember the first time I made these Quick Chocolate Crispy Treats for Busy Nights. It was one of those chaotic weeknights when dinner was a distant memory, and my kids were bouncing off the walls like they’d just been plugged into a socket. I whipped up these cookies in record time, and as soon as the chocolate-coated goodness hit the table, it was like magic! The chaos turned into smiles and giggles as everyone devoured them.
Why You’ll Love This Recipe
These treats are incredibly easy to whip up, taking mere minutes from start to finish—perfect for busy nights when you need something sweet in a hurry. They boast a unique flavor profile that combines the crispiness of rice cereal with a buttery caramel undertone and smooth milk chocolate coating. Not only are they visually appealing with their glossy chocolate finish, but they can also be customized to your liking! Want to try dark chocolate instead? Go for it! The versatility of this recipe makes it a go-to for any occasion.
Ingredients
Here’s what you need for this delicious dish:
The complete ingredient list, including quantities, can be found directly under the recipe card.
Step-by-Step Instructions
Follow these simple steps to prepare this delicious dish:
Step 1: Prepare Your Baking Sheet
Line a large baking sheet with parchment paper to prevent sticking later on. This ensures easy removal of your crispy treats once they cool down.
Step 2: Make the Caramel Mixture
In a large saucepan over medium heat, combine the butter, light brown sugar, and light corn syrup. Stir constantly until the butter melts and the mixture comes to a gentle boil. Keep stirring occasionally and let it boil for 1 minute.
Step 3: Add Flavor
Remove the saucepan from heat. Stir in vanilla extract and salt until well combined—this will add some fabulous flavor!
Step 4: Combine with Cereal
Gently fold in the crispy rice cereal to ensure each piece is coated evenly with that gooey caramel mixture. Mix until thoroughly combined.
Step 5: Shape Your Cookies
Using a 1/4 cup measuring cup or an ice cream scoop, portion out the cereal mixture onto your prepared baking sheet. Gently press each portion into flat rounds about 2.5-3 inches in diameter.
Step 6: Chill Out
Place your baking sheet in the refrigerator for at least 15-20 minutes so your cookies can firm up nicely while you prepare to melt some chocolate.
Step 7: Melt That Chocolate
While your cookies chill, melt the milk chocolate chips in a microwave-safe bowl using 30-second intervals, stirring after each session until smooth. If you want that extra sheen, stir in coconut oil or shortening at this stage.
Step 8: Coat Your Cookies
Once your cookies are firm enough to handle, dip each one into the melted chocolate ensuring they are fully coated. Lift them out using a fork allowing any excess chocolate to drip off before returning them to your parchment-lined baking sheet.
Step 9: Set Again
Refrigerate your cookies again for at least 30 minutes or until that delicious chocolate coating is completely set.
Step 10: Store Your Treats
Once set, store them in an airtight container at room temperature or keep them chilled in the refrigerator if you prefer.
With these steps completed, garnish with sprinkles if you’re feeling fancy (or just enjoy them plain), and serve immediately! Each bite promises that perfect combination of crunch followed by rich sweetness—utterly irresistible!
Improving the Cooking Method
For perfect results, ensure you stir the butter and sugar mixture constantly until it boils. This avoids burning and gives you that luscious caramel flavor. Once mixed with the cereal, be gentle when coating—too much force can lead to crumbled treats.
Decorate Your Dish with Your Personal Touch
Feeling adventurous? Swap out milk chocolate chips for dark chocolate for a richer taste or even mix them together for a delightful twist. You could also try adding a sprinkle of sea salt on top for an extra flavor kick!
Smart Tips for Storage and Reheating
To keep these treats crisp, store them in an airtight container at room temperature. If you prefer chilling them, they’ll last longer in the fridge but may lose some crunch. Enjoy them within a week for the best taste!
Practical Chef Advice
I remember making these treats during a spontaneous movie night with friends; we ended up with chocolate everywhere but laughs all around!
Final Thoughts
Indulging in these Quick Chocolate Crispy Treats for Busy Nights is a delightful way to satisfy your sweet tooth without spending hours in the kitchen. The rich combination of buttery caramel and smooth chocolate creates a flavor experience that is both comforting and indulgent. With just a few simple steps, you can whip up a batch of cookies that are perfect for sharing or enjoying yourself. So why not gather your ingredients and create this delicious treat today? Your taste buds will thank you!
PrintQuick Chocolate Crispy Treats for Busy Nights

These homemade Star Crunch cookies offer a delightful combination of textures and flavors. Crispy rice cereal is bound together with a rich, buttery caramel-like mixture, then generously coated in smooth milk chocolate. Each bite delivers a satisfying crunch followed by a sweet, melt-in-your-mouth chocolate finish, making for a simple yet indulgent treat.
- Prep Time: 20 minutes
- Total Time: 20 minutes
- Yield: 12-15 cookies 1x
Ingredients
- 6 cups crispy rice cereal
- 1/2 cup unsalted butter
- 1/2 cup light brown sugar, packed
- 1/2 cup light corn syrup
- 1 teaspoon vanilla extract
- 1/4 teaspoon salt
- 1 1/2 cups milk chocolate chips
- 1 tablespoon coconut oil or shortening (optional, for smoother chocolate)
Instructions
- Line a large baking sheet with parchment paper.
- In a large saucepan over medium heat, combine the butter, brown sugar, and light corn syrup. Stir constantly until the butter is melted and the mixture comes to a gentle boil. Continue to boil for 1 minute, stirring occasionally.
- Remove the saucepan from the heat. Stir in the vanilla extract and salt.
- Add the crispy rice cereal to the saucepan. Stir gently but thoroughly until the cereal is evenly coated with the caramel mixture.
- Using a 1/4 cup measuring cup or an ice cream scoop, portion the cereal mixture onto the prepared baking sheet. Gently press each portion into a flat, round cookie shape, about 2.5-3 inches in diameter.
- Place the baking sheet in the refrigerator for at least 15-20 minutes to allow the cookies to firm up.
- While the cookies are chilling, melt the chocolate chips. You can do this in a microwave-safe bowl in 30-second intervals, stirring after each, until smooth. Alternatively, use a double boiler. If desired, stir in the coconut oil or shortening for a smoother consistency.
- Once the cookies are firm, dip each cookie into the melted chocolate, ensuring it is fully coated. Lift with a fork, allowing excess chocolate to drip off, then return to the parchment-lined baking sheet.
- Refrigerate the cookies again for at least 30 minutes, or until the chocolate coating is completely set.
- Store in an airtight container at room temperature or in the refrigerator.
Notes
For best results, use fresh crispy rice cereal to ensure maximum crunch.
When melting chocolate, avoid overheating to prevent it from seizing. Low and slow is key.
If the cereal mixture becomes too sticky to handle, lightly grease your hands with butter or cooking spray.
These cookies can be stored in an airtight container at room temperature for up to 3 days, or in the refrigerator for up to a week.
For a different flavor profile, try using dark chocolate or a mix of milk and dark chocolate for the coating.
Nutrition
- Calories: 280
- Fat: 15g
- Carbohydrates: 38g
- Protein: 2g
FAQs
How long do I need to chill the cookies before coating them in chocolate?
After shaping the cookies on the baking sheet, they should chill in the refrigerator for at least 15-20 minutes. This helps them firm up nicely before you dip them into the melted chocolate.
Can I use a different type of chocolate for coating?
Yes! While the recipe calls for milk chocolate chips, you can experiment with dark chocolate or even a mix of milk and dark chocolate for a different flavor profile.
How should I store the finished cookies?
Once your cookies are ready, store them in an airtight container at room temperature for up to 3 days, or keep them in the refrigerator for up to a week. This will help maintain their freshness and crunchiness.
What if my cereal mixture is too sticky to handle?
If you find that the cereal mixture becomes too sticky while forming your cookies, lightly grease your hands with butter or cooking spray. This will make it easier to shape them without sticking.